

Wanna move them into separate folders but can't figure out how to do it? If so, keep reading!
Today I'll show you how to create photo folders on iPhone and iPad!
—————————————————————
Step 1: Create a folder wherever you want in your computer (make sure you will not move it anymore).
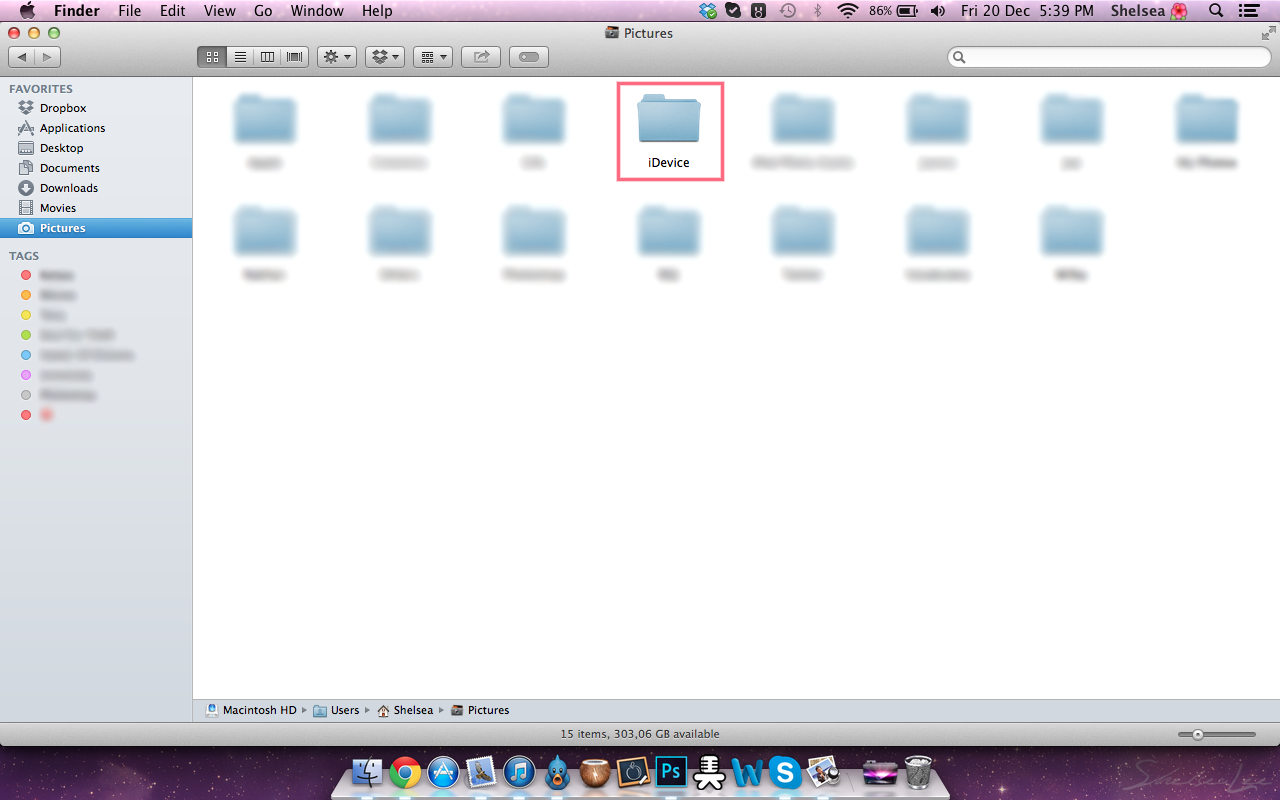
[click to enlarge]
Step 2: Inside this folder create more folders. These will be the albums.
You can put your pictures in the folders already if you want, or you can do that later.
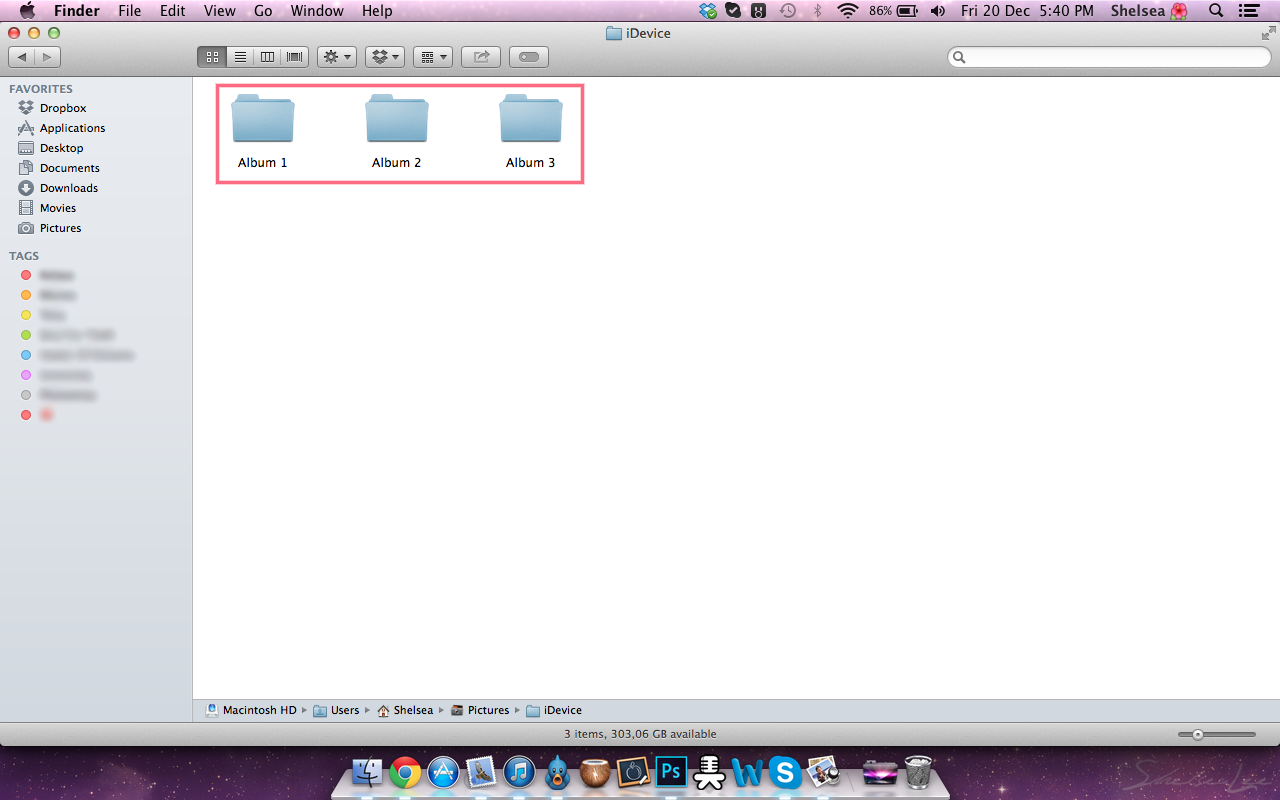
[click to enlarge]
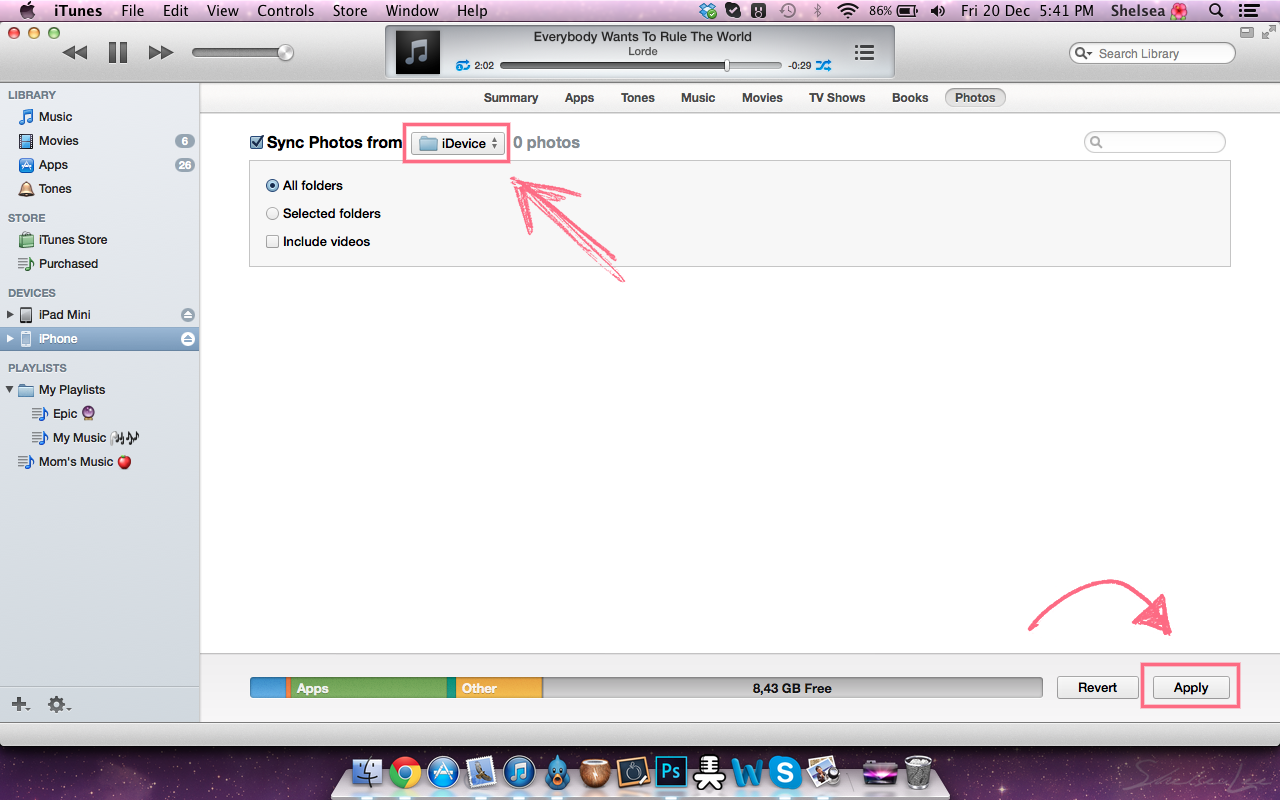
Step 3: Go to iTunes and click on your iDevice's name; then go to the Photos tab.
Make sure Sync Photos is checked and click on the drop-down menu right in front of it.
Choose Choose Folder.
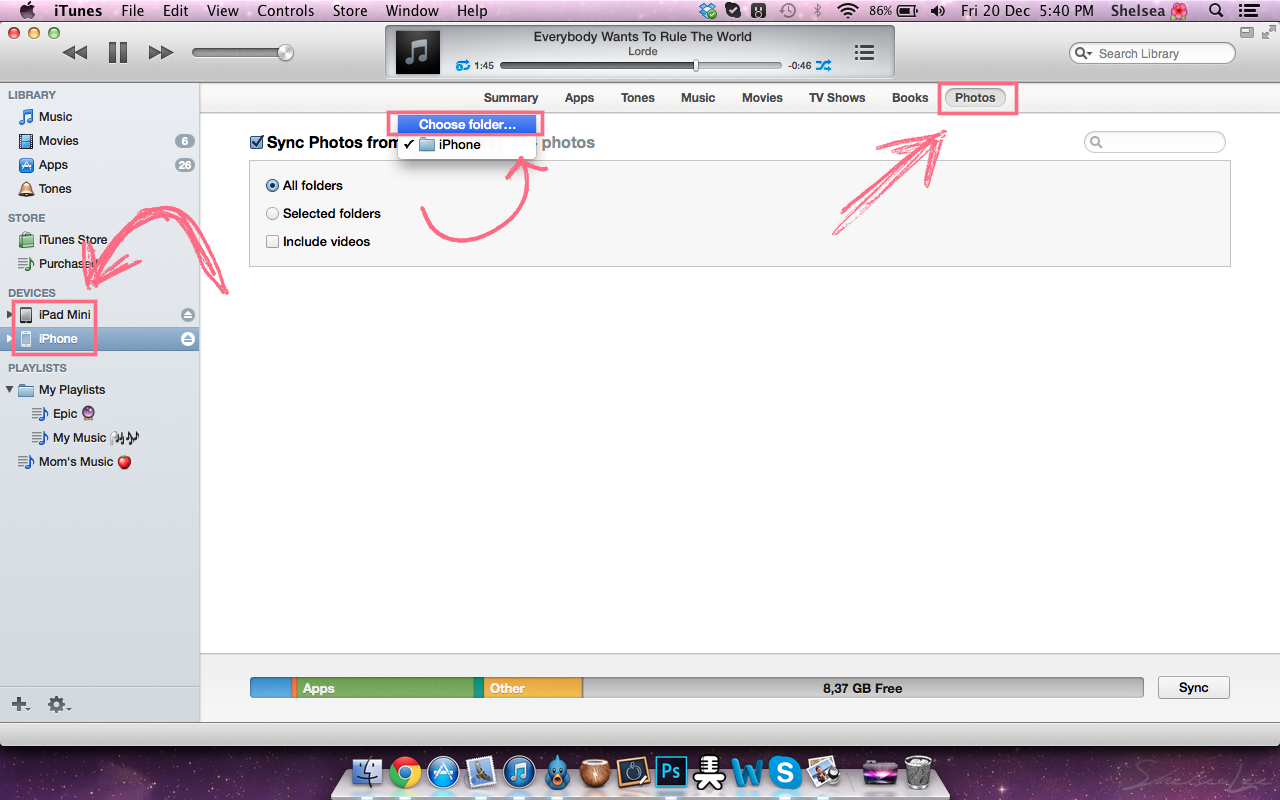
[click to enlarge]
Step 4: Find the first folder you created and click Open.
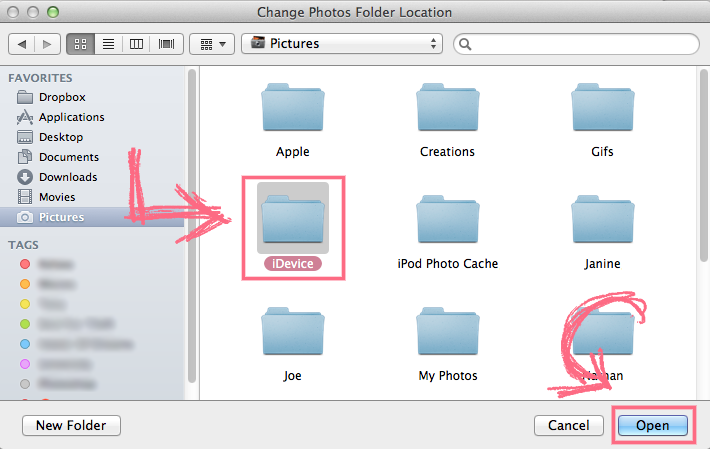
[click to enlarge]
Step 5: Click Apply or Sync.
[click to enlarge]
—————————————————————
That's it!
That's it!
You can now proceed to adding photos to the albums inside your iDevice's folder.
Remember to sync iTunes with your iDevice every time you add or delete photos from the albums.

No comments :
Post a Comment